Young Living Farm

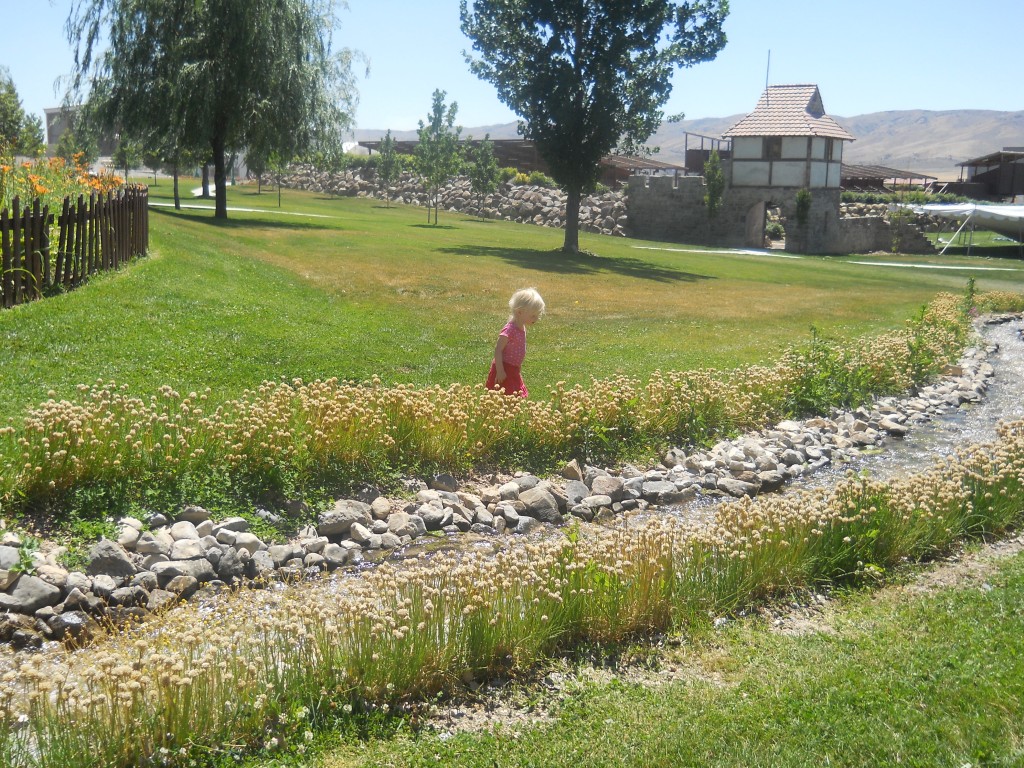
The girls and I decided to go on a little adventure. After a little searching, I found the Young Living Farm just under an hour away, so into the car and away we went. I hoped the girls would sleep on the drive there, but alas, I had no such luck, so they were a little crazy when we arrived, but we still had fun looking at the animals, the water, and the flowers. These are some pictures of our trip.

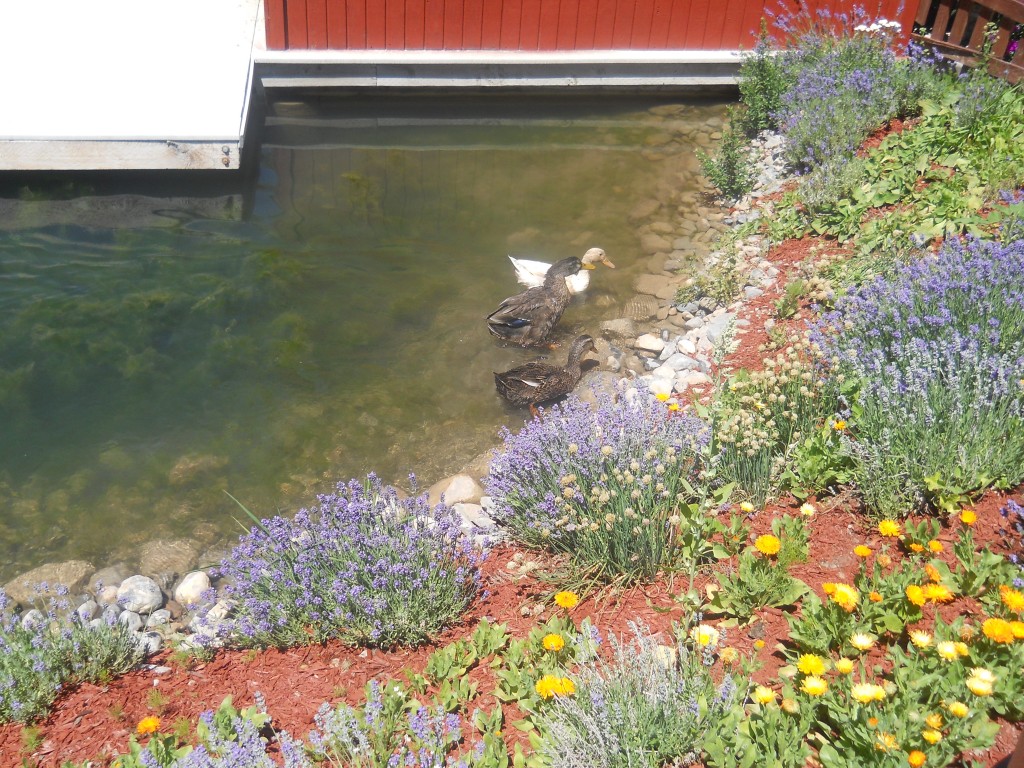
These are some ducks we saw.

Looking at the stream.

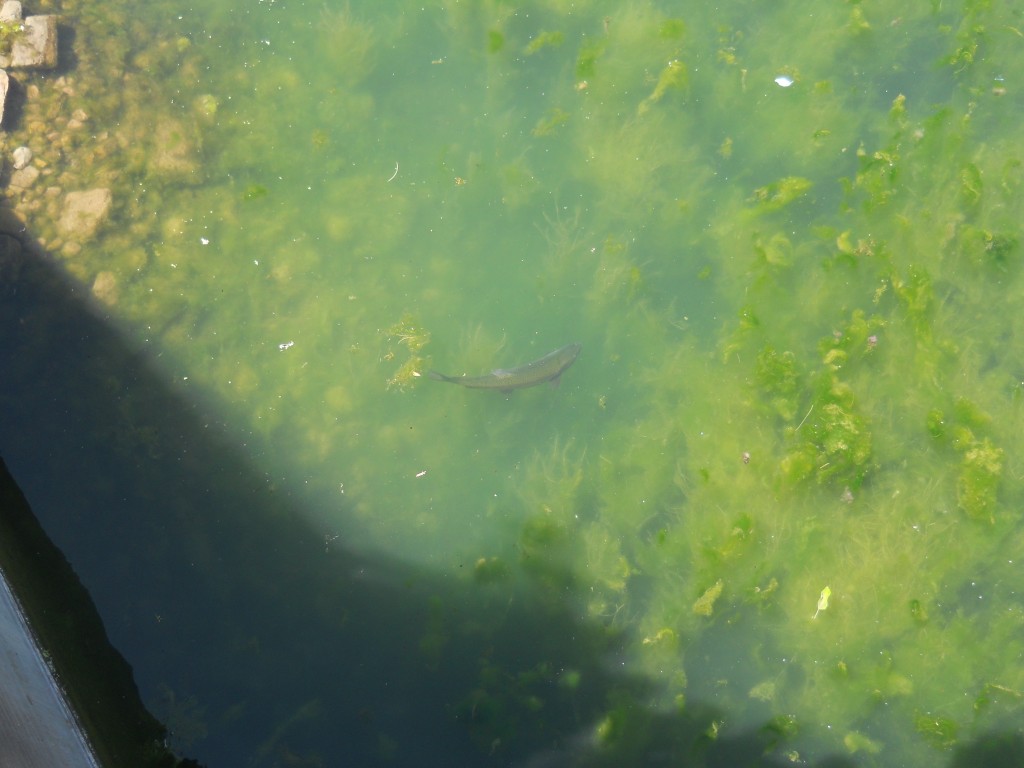
This is a fish that we saw.

My pretty baby girl.

Up to some cuteness.


Healthy No Bake Peanut Butter Bars

Well, healthier than these. I switched the graham crackers, which usually have high fructose corn syrup in them, for oatmeal and flax, which a full of fiber, iron, and omega-3s. Then I switched the powdered sugar for much less honey. These could easily be made into lactation cookies just by adding some brewer’s yeast.

Healthy No Bake Peanut Butter Bars

Ingredients

  • 1 C Oatmeal, ground
  • 1 C Flax, ground
  • 1 C Butter, melted
  • ¾ C Honey or less
  • 1 C Peanut Butter
  • 1 ½ C Dark Chocolate Chips or Carob Chips
  • 4 T Peanut Butter

Instructions

  1. Grind your oatmeal and flax in a food processor.
  2. Combine oatmeal, flax, butter, honey and peanut butter in a large bowl.
  3. Mix with a spoon.
  4. Spread into a 9X13 pan.
  5. Melt Chips and Peanut Butter in a microwave, stirring every 30 seconds.
  6. Pour over top of peanut butter mixture.
  7. Refrigerate for one hour.
https://kstuff.net/healthy-no-bake-peanut-butter-bars/


If you don’t have flax, use another cup of oatmeal. This recipe is super flexible, so experiment away!

You can find ground flax and carob chips in the bulk section at Winco or at any health food store.

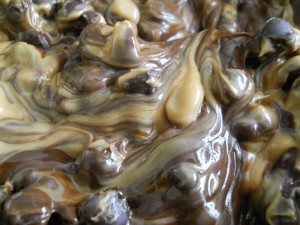
This is what the peanut butter and dark chocolate topping looks like while you're mixing it.

Bubble Birthday Party

Over the past few weeks, I have been very preoccupied by the planning of my pretty girl’s birthday party. I knew all the way back in January that I wanted to do a bubble party. I wanted a bubble machine, and a bunch of bubbles for the kids to play with, and of course balloons… actually it was pretty scattered until just a few weeks ago.

So, here’s what I did.

Bubbles

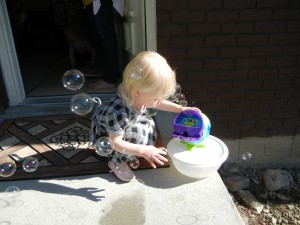
I googled “bubble party” and found this site. It really helped get the ideas flowing. We went to the dollar store and bought a bunch of bubble wands in various sizes. This was a hit, as even the parents were enjoying it. We asked some of our friends if they could bring a pool and a hula hoop so we could make massive bubbles. This part was really amazing. The same friends even commented that if we had hired a clown or magician, they would not have been as successful as the giant bubbles. We, also, bought a bubble machine for $20 from Walmart that we set on the front porch, so there would always be bubbles blowing. Rather than buying tons of bubbles, I made them.
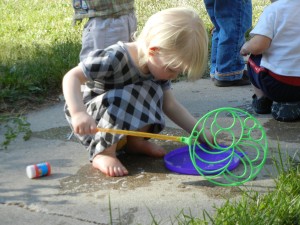
Playing with a bubble wand.
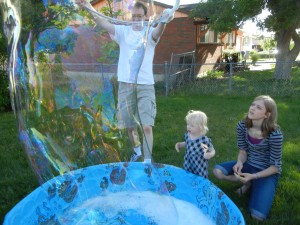
This was spectacular.
Bubble Recipe

Ingredients

  • 2 T glycerin
  • ½ C Dawn liquid dish soap
  • 5 C water

Notes

Glycerin is in the pharmacy section, and I did see a huge bottle of it at the health food store, which might have been a better deal. The small bottle at a regular store is good for about six batches of bubbles.

https://kstuff.net/bubble-birthday-party/

Invitations

We bought bubbles from the dollar store, emptied out the bubbles to save for the party, torn off the paper, and washed them in the dishwasher. When they were dry, I made some invitations that I could wrap around the bubble wand and then stuff in the bottles. Tape the invitations shut so they don’t stick to the sides of the bottle.

As far as delivering the invitations goes, we sent half of them through USPS, which cost $2/ bottle, and since the bottles were such an odd shape, one of them didn’t even get delivered until the day of the party. The other half we hand delivered, which was great, because I wasn’t wondering if they got the invite, and most people were able to RSVP right on the spot. So, if you do this, it’s much more worth it to hand deliver

Food

For dinner, I served BBQ Chicken and fruit. I meant to do a salad, but I just didn’t get to it. I found all of the fruit at a really good price at Winco. I got my fruit platter from the value section at Target, and my serving tongs from the dollar store. The BBQ Chicken is a crock pot dish, so it was really easy.

BBQ Chicken

Ingredients

  • 1 medium onion, diced
  • 1 garlic clove, minced
  • 2 T butter
  • ¼ C brown sugar
  • 1 t salt
  • ¼ t thyme
  • Lemon juice
  • 8 oz tomato sauce
  • ½ C water or less or none
  • 3 T Worcestershire sauce
  • 2 t mustard
  • Dash of Tabasco sauce

Instructions

  1. In a small saucepan, cook onion and garlic in butter until tender.
  2. Stir remaining ingredients.
  3. Simmer covered, 5-10 minutes.
  4. Freeze for later or use immediately.
  5. In a large crock pot, place four frozen chicken breasts and frozen BBQ sauce.
  6. Cook on high for six hours.
  7. Shred chicken and stir.
  8. Serve on buns.
https://kstuff.net/bubble-birthday-party/

This BBQ sauce is good for a lot of different dishes.

Cake

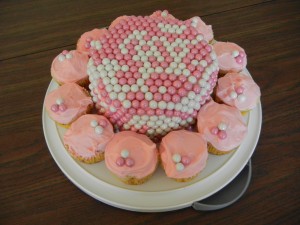
Since there were a lot of kids that came, I wanted to do something that would be easy for them. Cupcakes are not the easiest cake option when you are making them yourself, but it was so nice to just hand out the little cakes when the time came. I made all of the cupcakes the night before the party, which gave plenty of time for them to cool, so I could frost them the day of the party. I, also, made a mini cake that I covered completely in pink and white sixlets. I found the sixlets at a party store and used what was left to add some flair to the cupcakes.
Yellow Cake

Yield: Make enough for about 36 cupcakes, 2 mini cakes, or 1 regular cake.

Ingredients

  • 2 ½ C flour
  • 1 ½ C sugar
  • 3 t baking powder
  • 1 t salt
  • 1 ¼ C milk
  • 2/3 C oil
  • 2 t vanilla
  • 2 egg yolks
  • 2 eggs

Instructions

  1. Preheat oven to 350 F.
  2. Combine flour, sugar, baking powder, salt, milk and oil in a large bowl.
  3. Mix with an electric mixer at medium speed for two minutes.
  4. Add vanilla, egg yolks and eggs.
  5. Mix again at medium speed for two minutes.

Notes

Baking times: Cupcakes: 12-15 minutes Mini cakes: 20 minutes Regular cake: 40-45 minutes Or until a toothpick inserted comes out clean.

https://kstuff.net/bubble-birthday-party/


Cream Cheese Frosting

Ingredients

  • 3 C powdered sugar
  • 2 T butter
  • 1 t vanilla
  • 8 oz cream cheese

Instructions

  1. Combine in a large bowl and mix until smooth. Add food coloring to get desired color.
https://kstuff.net/bubble-birthday-party/

Decorations

Balloons of course! They’re round and light as air, just like bubbles. We got a dozen helium filled in clear, silver, and pink, plus a Hello Kitty one. Then we found a big bag of white balloons at Walmart for $2.50. The men blew up at least half the bag, and the kids had tons of fun running through them.
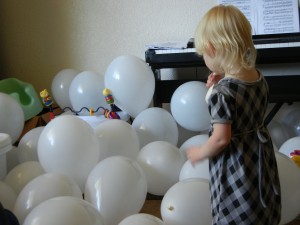
This is my favorite picture of her with the balloons.

Well, I think that’s all I did. It was super fun, and we’re playing with the left over bubbles as I type this. Thank you to everyone that  came and helped out.

All of these beautiful pictures were taken by Sarah Stufflebeam, whose blog can be found here.
Sunny Side Up Technique

To have an egg truly sunny side up, the yoke still needs to be runny, which I personally think is gross. However, I decided to test this technique just to see how everything would turn out, and I was very pleased with my solid yoked egg. Rather than being dry and barely palatable, my solid yoke was still moist and delicious. Plus, this has got to be the easiest way in the world to cook an egg. There was no scrambling, no flipping and praying the yoke didn’t break, and no boiling water.

To accomplish this technique:

  1. Heat a frying pan to medium-low heat.
  2. Coat with butter (this applies to both non-stick and regular pans).
  3. Crack the eggs into the pan.
  4. Salt and pepper.
  5. Cover the pan with a lid.
  6. Enjoy when yoke is desired texture.

For a true sunny side up, you would only let it cook covered for about 45 seconds, and then be done. But for those of us who can’t stand an egg to be runny or even a little bit gooey, cook it for 2-3 minutes. The low heat and the steam trapped by the lid will keep the egg from burning, and you will have a very delicious egg. Also, something to look for if you’re cooking it for longer, the white of the egg will start to bubble. It actually looks kind of cool once you get over the initial shock of “what is my egg doing?”

The Importance of Food

I know that when I started this blog, I was way into cloth diapers and my 101 Goals, and I still do think about this stuff, and plan on blogging about it when I can get to it, but lately my focus has been on food. My life revolves around food. If you didn’t read my mom’s blog post, it will explain a lot of why I care so much about the food my family and I eat. For me, eating well means being happy, having energy, enjoying complex, delicious flavors, being productive and having a happy family. So, while a lot of the time it means missing out on things like Kneader’s fruit tarts, Breyer’s Vanilla ice cream, and Sprite, the benefits far outweigh the disadvantages.

I’ve been watching a lot of TED talks based on food lately, and this one by Carolyn Steel struck me as correct. She talks about the need to bring food production back to our conscious thought, and how we should build society around food. I think she’s right. Come some crazy disaster, nobody is going to care how much money you have, or how much gold you saved, or even how smart you are. All that is going to matter is who has food and who doesn’t. Those who know how to produce food are going to be looked to for help and guidance.

This is one of the reasons why I have immersed myself in Shelf Reliance. Through this company, I am building my home store (a concept that too few people understand), which I hope someday to contain at least two years worth of food for my family. I, also, am able to store healthy food that tastes good and will last a long time. Plus, the network of consultants this company has produced is so diverse that you can find just about any kind of food made using this food storage, and a lot of them post the recipes online.

Shelf Reliance helps me to have food on hand always, but I, also, want to be a producer. I grew up gardening with my mom, but right now, with two under two, it’s rather challenging to always be weeding a large area of land just to make sure that my baby plants don’t get suffocated by massive weeds. Our ward (church) just started a Sunday school class called “Provident Living.” We have been learning about square foot gardening, and Brother Lindsay has been showing my family how to do it. He is so helpful. About once or twice a week he comes over to check on our progress and explain the next step. He is even helping us get the right supplies, so that next year, when we build more boxes, we will know what to do and how to do it. We, also, want to teach other people how to do this.

If you want to learn more about being self sufficient, these are two books I suggest reading:

The Forgotten Skills of Self-Sufficiency Used by the Mormon Pioneers by Caleb Warnock
All New Square Foot Gardening by Mel Bartholomew

There are also websites based off these two books, just Google them.

Pasta Salad

Pasta Salad

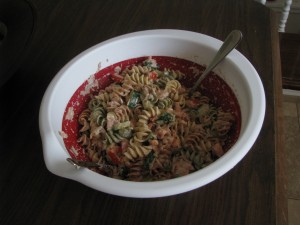
This is one of the first meals I learned how to make. It is so wonderfully delicious, that this is all we would make for dinner when we made this. Probably the most fun part about making this for others is when they ask, “what’s the sauce?” Nobody is expecting to hear that it’s mayonnaise. It’s super simple and keeps your house cool during the summer.

Pasta Salad

Ingredients

  • 1 16 oz bag of swirly pasta
  • 2 5 oz cans of tuna
  • ¾ - 1 C mayonnaise
  • 1 cucumber, diced
  • 2 tomatoes, diced
  • 2 carrots, shredded or diced
  • salt to taste
  • Pepper to taste

Instructions

  1. Cook pasta according to package directions.
  2. In a large bowl (it needs to be pretty big), combine tuna and mayonnaise until almost soupy.
  3. Add cucumber, tomatoes, and carrots. Mix.
  4. When pasta is done cooking, rinse with cold water, until there is no more heat in the pasta. Add to the tuna mixture.
  5. It takes quite a bit of salt to cover everything, so don't be shy. Add pepper. Mix.
  6. Serve.
https://kstuff.net/pasta-salad/

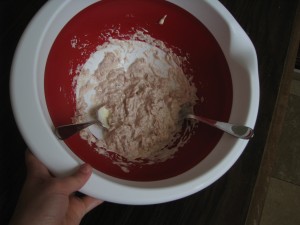
This is what the tuna and mayonnaise is supposed to look like.

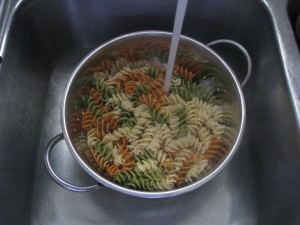
I love to snack on the pasta while I’m cooling it down.

Minestrone Soup

There are two ways to make this soup. One in a crock pot, and the other on the stove. I prefer to make it on the stove, but it tastes just as good if you make it in a crock pot. This recipe was originally a crock pot recipe that I converted to a stove top recipe. I’ll post the crock pot instructions in a later post.

Minestrone Soup

Ingredients

  • 1 T Extra Virgin Olive Oil (EVOO)
  • 1 garlic clove, minced
  • 1 small onion, diced
  • 2 celery ribs, chopped
  • 2 tomatoes, chopped
  • 1 t parsley
  • 1/2 t salt
  • 1/2 t garlic salt
  • 1/4 t pepper
  • 1 small head of cabbage, sliced thin
  • 3 carrots, chopped
  • 1 15 oz can of whole tomatoes
  • 1 15 oz can of kidney beans
  • 1/2 C noodles

Instructions

  1. Cook garlic, onion, celery, tomatoes, parsley, salt, garlic salt and pepper in EVOO.
  2. Add chicken stock and bring to a boil.
  3. Add cabbage, carrots, and whole tomatoes.
  4. Simmer for 15 minutes.
  5. Add kidney beans and noodles.
  6. Simmer for 15 minutes.
  7. Serve and enjoy!
https://kstuff.net/minestrone-soup/

Spelling Practice

I recently saw a bunch of pins about how to make spelling “fun.” It made me roll my eyes. Not everything is fun, but it sure feels good when you get 100% on the spelling tests every single week. My mom was really good about drilling our spelling words with us every day of the week. Spelling for the week went something like this:

Day 1

  • Bring the spelling list home. She would take us back to school to get it if we “forgot” it.
  • We were supposed to review the words ourselves so that we didn’t waste her time on the next step. Needless to say, we rarely did this step.
  • While cooking dinner, she would read our words, and we would spell them out loud to her. If we missed any, she would read them to us again after the whole list was done.

Day 2

  • While cooking dinner, she would read the words to us, and we had to write them on paper.
  • Depending on how old we were, and how trustworthy we were, either she or we would correct the paper.
  • If any were spelled incorrectly, we had to write them five times, correctly.

Day 3

  • Same as day 2, only this time the words got all mixed up, just to make sure we really had them learned.

Day 4

  • Same as day 3, except for the random tests that ended up being on a Thursday. On those days, she would read our list out loud, and we would spell them to her out loud, while driving to school.

There is nothing “fun” about this, but I thought it was great. Her consistency and involvement show that she loved us and that she cared about us doing well in school. I rarely missed any words on my spelling test, and was able to enjoy the thrill of showing my mom a perfect spelling test. I know that this is how I grew to love learning and gained a desire to always do well in school and life.

Chicken Noodle Soup

I was talking with one of my wonderful friends tonight and turns out we both make our own chicken stock. It’s really a great thing. She told this story about how one of her friends is only going to have chicken bouillon for her food storage because she is going to grow the rest in her garden. I thought it was great.

So, I promised my chicken noodle soup recipe, and here it is. I came up with this one on my own. It was the beginning of me creating my own recipes. I did a lot of research for this one. I read a lot of other chicken noodle soup recipes that were already out there, and I asked a lot of people how they made theirs. This recipe is what I came up with, and it is really delicious.

Chicken Noodle Soup

Ingredients

  • 2 T extra virgin olive oil (EVOO)
  • 1 small onion, diced
  • 2 garlic cloves, minced
  • 3 medium carrots, chopped
  • 2 celery ribs, chopped
  • Thyme
  • 1 bay leaf
  • Salt
  • Pepper
  • 2 quarts of chicken stock
  • 8 oz of egg noodles
  • 1 lb of diced chicken, cooked

Instructions

  1. Cook onion, garlic, carrots, celery, thyme, bay leaf, salt and pepper in EVOO.
  2. Add chicken stock and bring to a boil.
  3. Add noodles and simmer for 10 minutes.
  4. Add chicken and simmer for 15 minutes.
https://kstuff.net/chicken-noodle-soup/

TIPS:

I use a tiny little grater to grate my garlic into the pot.
I chop a bunch of baby carrots into fourths, so I don’t have to buy baby carrots and regular carrots.
I just add noodles by the handful until I think there’s enough.
I cut my chicken using cooking scissors to speed things up.

Using the Whole Chicken

My grandma Shelton is amazing at this. My brother and I spent a week at my grandparent’s when our parent’s were in Hawaii. The first night, we had a wonderful turkey dinner. Then turkey soup, turkey sandwiches, turkey every day of the week. It was really cool. So, this week, I’m doing something similar. Tonight for dinner we had roasted chicken per the instructions in Everyday Food’s May 2012 edition. Then I pulled all of the meat off, which I plan to use for Teriyaki Chicken and Rice (this is the Teriyaki sauce I make) and Chicken Noodle Soup.

I put all of the bones and skin in my big pot, filled it to the top with water, and added two halved celery stalks, a handful of baby carrots, and a whole onion sliced in sixths. I let it come to a boil, and then turned the stove top down to medium-low and let it simmer for about two hours, covered. When it was done, I pulled the big pieces out with one of those spoons with holes to let the stock drain out. Then I balanced my strainer on my largest tupperware bowl and poured the stock through to catch all the smaller pieces. I had so much stock that I had to bring out my second largest tupperware bowl for the rest of the stock. The celery, carrots, and onion that I put in were totally lifeless. They had a very dull color and were completely tasteless, so I have very high hopes for this stock. I will use it for Chicken Noodle Soup and Zuppa Toscana, and if I have enough, Minestrone Soup.

I found the whole chickens at Costco for $.99/lb. My chicken was about 5 lbs, so for spending $5, I got Sunday dinner, enough stock for three soups, and left over chicken for two other meals. It’s definitely worth it to use the whole chicken.

Chicken Noodle Soup and Minestrone Soup recipes to come later this week.