My Family’s Favorite Meals

Yesterday, I posted on Facebook a list of my family’s favorite meals. These are specifically for dinner, but we eat the leftovers for lunch all the time. People asked for the recipes as well. Some of them are my own, so I’ll be posting the recipes as I can, but I found many online and will provide the links for them on this page. I’ve added my small changes that I make to other people’s recipes. I tweak almost every recipe that I find, and I hope that this encourages you to do the same. You know what you and your family like to eat, so make it the way they like to eat it.

  • Spaghetti
  • Deep Fried Chicken Tenders
  • Italian Wedding Soup
  • Chicken Cacciatore – I use butter instead of coconut oil, we don’t do mushrooms, and sometimes we substitute rice for the cabbage, but try the cabbage! It’s amazing.
  • BBQ Beef
  • Pot Roast
  • Asian Zucchini Stir Fry
  • Chicken Salad
  • Pasta Salad
  • Taco Salad
  • Loaded Baked Potatoes
  • Hamburgers
  • Hot Dogs
  • Steak – This is how we cooked our steak the other day, and it was amazing. Just make sure the steak is completely thawed if it’s been frozen.
  • Beef Stroganoff
  • Chicken Pot Pie
  • Zuppa Toscana
  • Swiss Steak
  • Southern Crock Pot Chicken – I add a lot of salt to this. Otherwise, it’s kind of bland. It’s good served with rice, on toast, or in a tortilla.
  • Chili
  • Chicken Enchiladas
  • Chicken Noodle Soup
  • Vegetable Beef Soup
  • BBQ Chicken
  • Beef Stew

It might take me a while to get through this whole list, but some of these are better in the winter anyway.

Spelt Pancakes

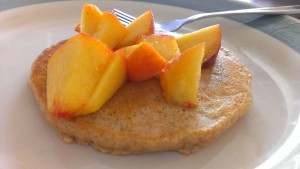
IMAG1702Spelt is a grain, very similar to flour, but it behaves slightly different. It has gluten, so it will hold things together, but it doesn’t keep things in a nice, tidy package. I experimented with Spelt today by making pancakes for breakfast. When I got it right, they looked amazing and were delicious. The first two attempts, however, produced flat pancakes, that nobody has wanted to try so far. Those two were just Spelt. With mouths to feed, I gave up on my Spelt experimenting, and added some whole wheat flour. The results were great. Still mostly Spelt, with a bit of flour, the pancakes held a perfectly round shape and fluffed up nicely. I cut up a peach for topping, and put some butter, honey, and applesauce on the table as well.

IMAG1683

Here is the recipe:

2 C Spelt flour
1/2 C whole wheat flour
2 t baking powder
1/2 t baking soda
1/4 t salt
2 fresh chicken eggs (or just one if your chickens lay large eggs)
1 1/2 C buttermilk
3 T butter, melted
1 T honey

In a large bowl, combine spelt, wheat, baking powder, baking soda, and salt. In a separate bowl, combine eggs, buttermilk, and butter. Add wet ingredients all at once to the dry ingredients. Mix until moist. Add honey and mix as well. Cook 1/4 C at a time on a hot skillet. Top as desired, like this little girl is doing.

IMAG1690

Cheese Tomato Pies

cheese tomato piesOr mini pizzas, as we called them growing up. This was one of our favorite dishes as kids, and it’s simple enough that my mom actually taught me how to make them before I left home. I haven’t made them for the longest time, but was reminded of them while talking to my brother on the phone the other day. I decided they would make a great dish for lunch, as that is the most difficult meal for me to plan. The reaction when I placed these in front of my daughters was absolute awe and joy that I had made them something so delicious looking. Of course they tasted good, too, and brought back a lot of wonderful memories for me.

Cheese Tomato Pies

Ingredients

  • 2 C flour
  • 2 1/2 t baking powder
  • 1 t salt
  • 1/4 C butter
  • 3/4 C milk
  • 16 oz cottage cheese
  • 8 oz tomato sauce
  • Sea Salt
  • Pepper
  • Parsley
  • Oregano
  • Pizza Seasoning

Instructions

  1. Preheat oven to 400°F, and line a baking sheet with parchment paper.
  2. In a large bowl, mix flour, baking powder, and salt. Use a pastry blender to incorporate butter. Add milk and use hands to bring dough together. Now you have biscuit dough.
  3. Separate dough into 9-12 balls. Place all on the cookie sheet. Flatten each ball and shape into a mini pie crust, pushing the edge up so the filling will not leak out.
  4. Cook crusts for 5 minutes in the oven.
  5. Remove crusts from the oven. Reduce temperature to 350°F. Flatten middle of crusts with a spoon if necessary.
  6. Spoon cottage cheese into the middle of each crust. Add a spoonful of tomato sauce on top of the cottage cheese, avoid the crust. Sprinkle generously with salt and pepper, and add a pinch of parsley, oregano and pizza seasoning to each.
  7. Cook pies for 20-25 minutes, or until crusts are browned on the edges.
http://kstuff.net/cheese-tomato-pies/

Complimentary Breakfast

Breakfast this morning was courtesy of our chickens and our garden.
image

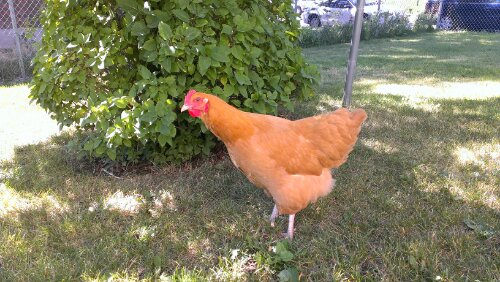
Our Buff Orpington started laying this last week.
image

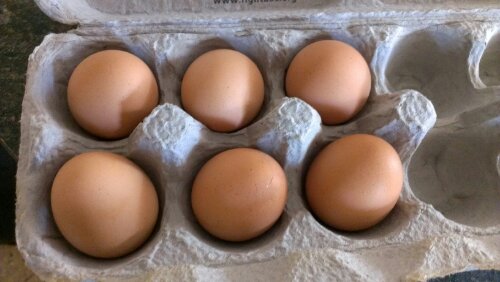
We gathered six tiny eggs from her, and decided that might be enough to feed all of us, so we cooked them up this morning.
image

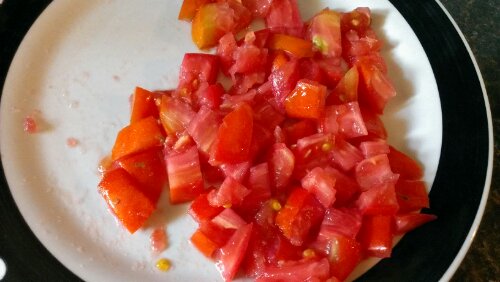
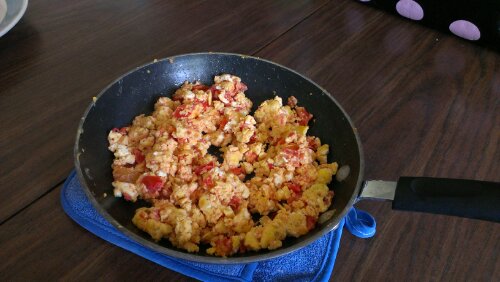
Then we got our first Hamson tomato, and diced it to add to the eggs. I scrambled the eggs, added a little salt and pepper, and then added the tomatoes. The juice from the tomatoes made the eggs cook for longer, but, also, kept them moist.
image

The scrambled eggs with tomatoes were delicious. We ate every bit of it.

Homemade Fries

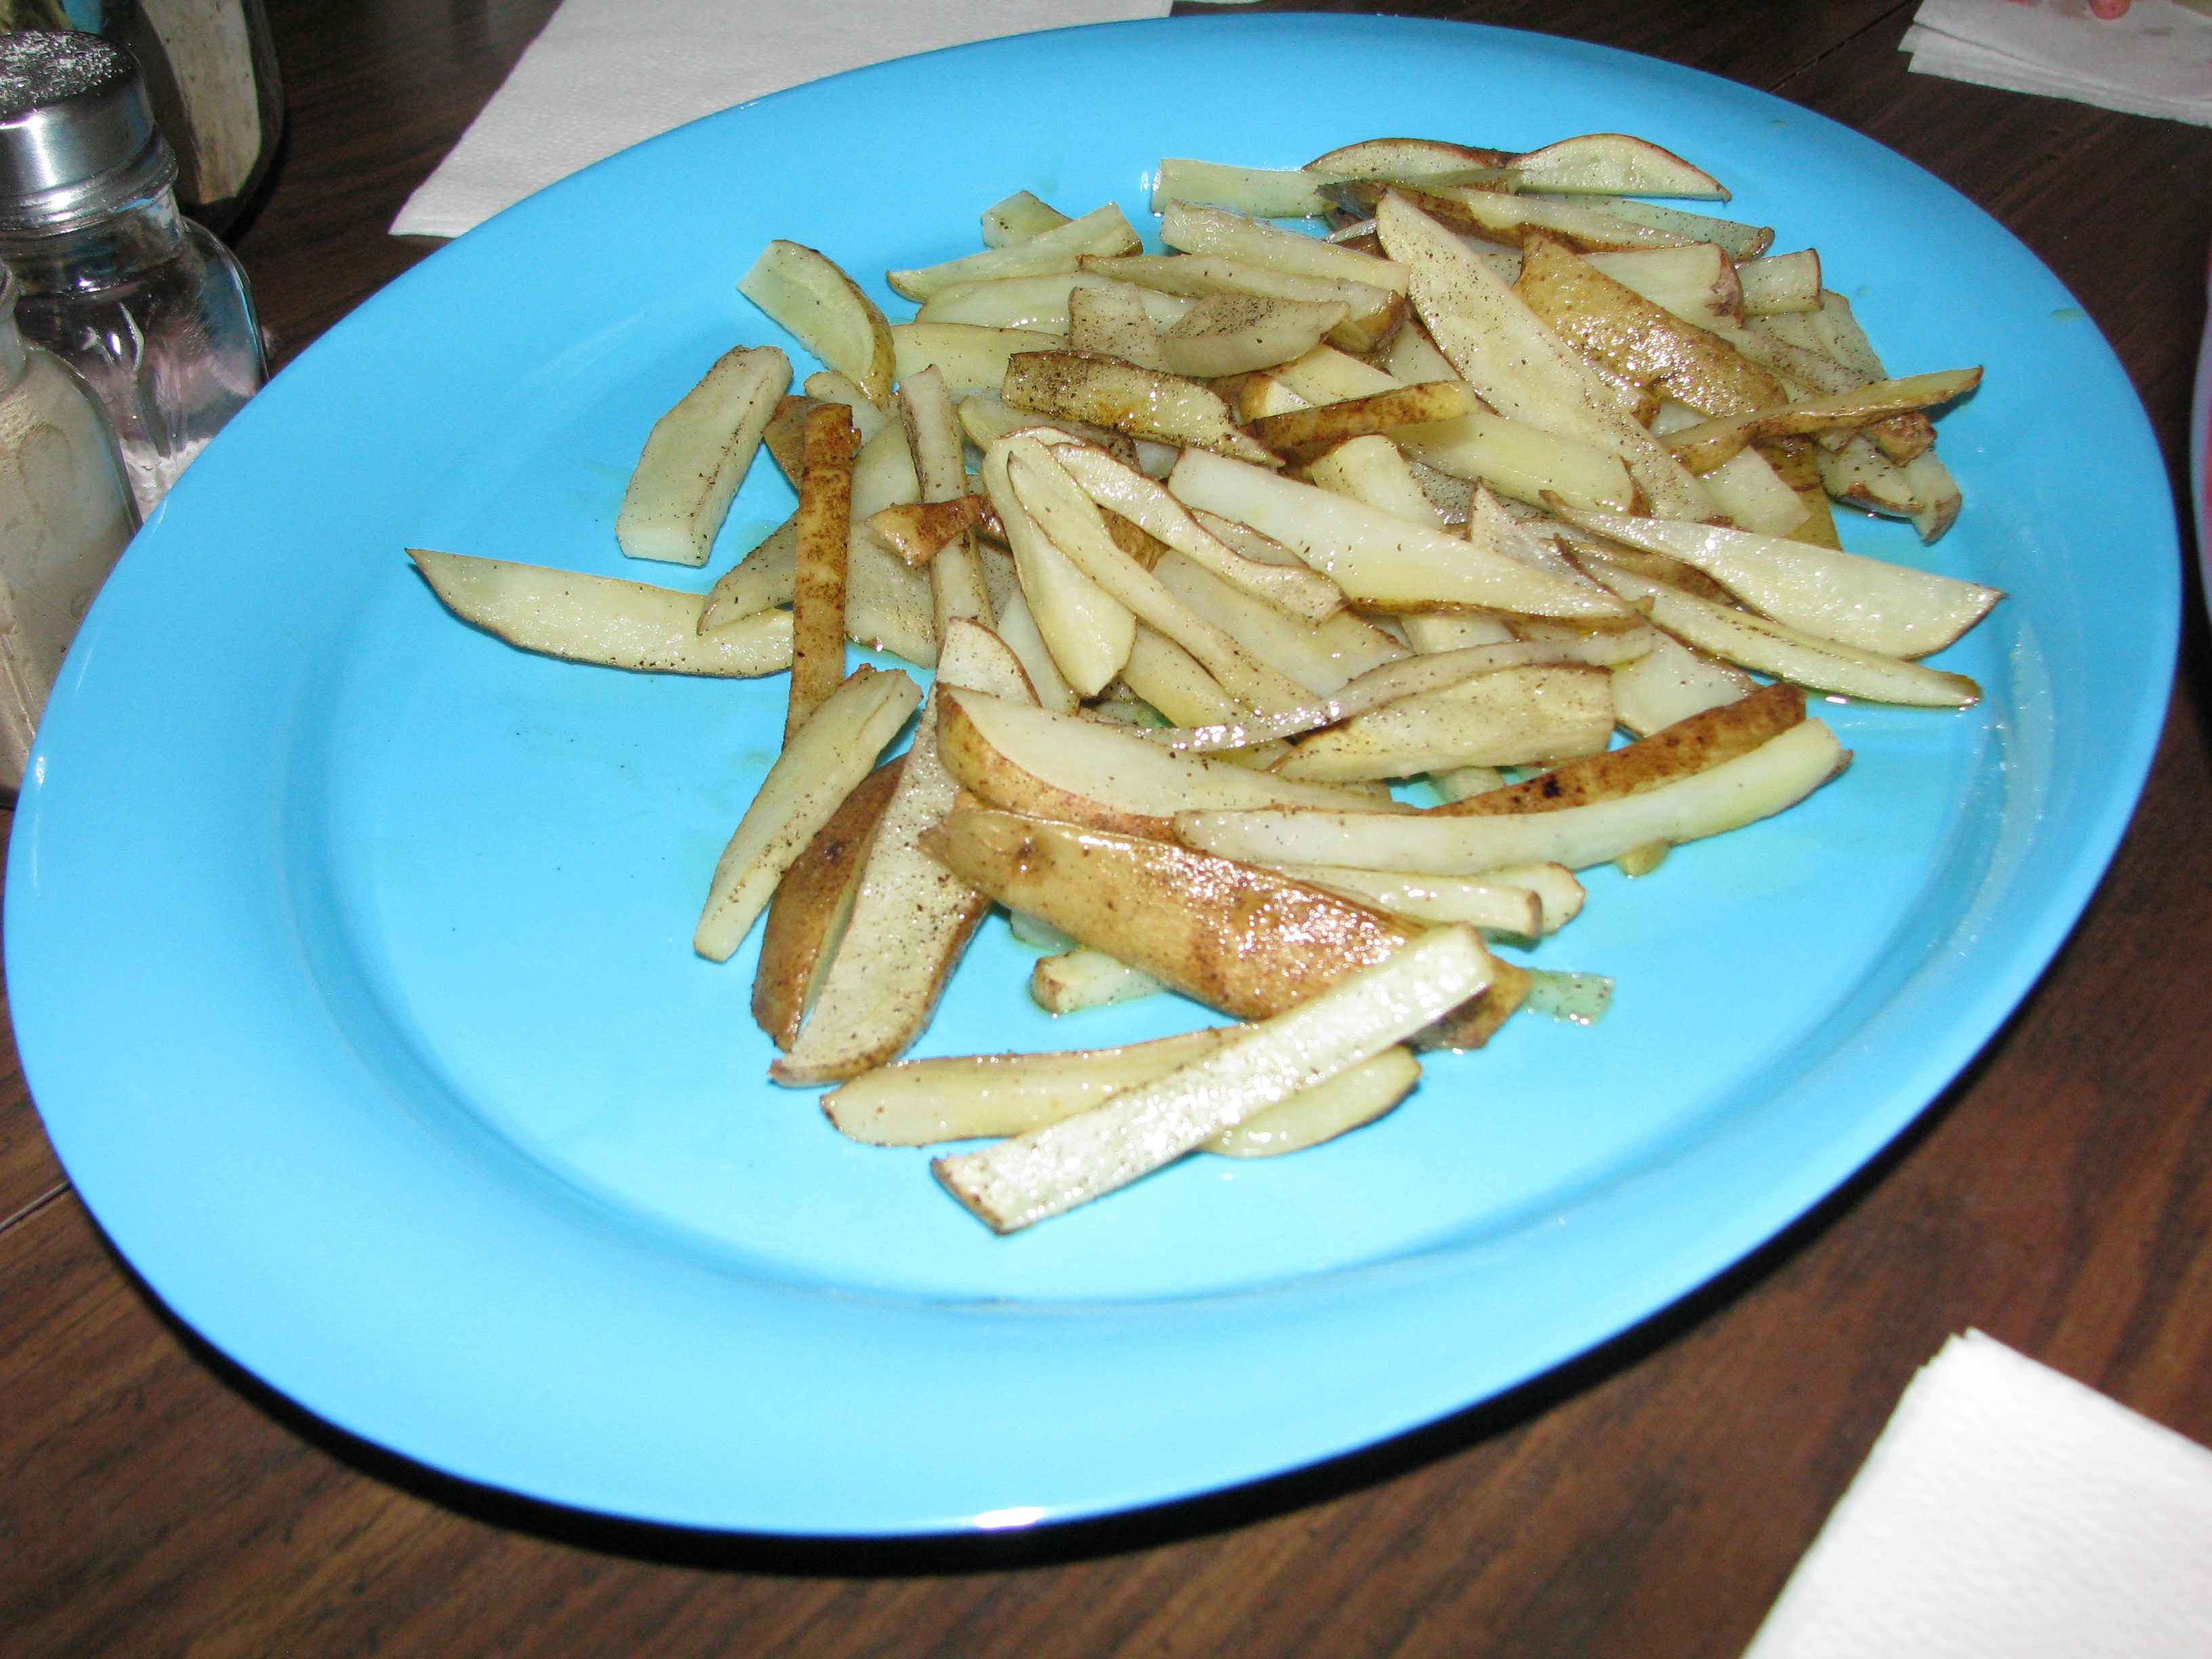
These are the best homemade fries ever. People will be asking for them over and over again, and they’re so simple that you’ll make them every time.

Homemade Fries

Homemade Fries

Ingredients

  • Potatoes
  • Olive Oil
  • Sea Salt
  • Pepper

Instructions

  1. Heat oven to 350°F.
  2. Line a cookie sheet with parchment paper.
  3. Cut the potatoes into thin fries. About 1/4 inch.
  4. Lay potatoes out on parchment paper. They can be touching and as close together as you can get them.
  5. Lightly drizzle olive oil over each row of potatoes.
  6. Thoroughly salt and pepper.
  7. Cook in oven for 20 minutes.
  8. Allow to cool for about 5 minutes.
http://kstuff.net/homemade-fries/

Ramen Vegi Soup

Everything came from my food storage.

Browsing Pinterest, I came across a wonderful blog post about simplifying your life with children. It’s a wonderful read, and it lead me to another post about this lady’s daily routine. Part of their routine is lunch, like most people, and she says that she just makes soup for lunch, because it simplifies things. I love soup! For some crazy reason, it never occurred to me that it would be okay to eat soup everyday. So, today I made soup. This is a food storage soup all the way.

Ramen Vegi Soup

Ingredients

  • 1/4 C onions (FD)
  • 1/2 C dehydrated carrots
  • 2 C green beans (FD)
  • 1 C green peas (FD)
  • 1 can of diced tomatoes
  • 2 pkg ramen, crushed and seasoning packets removed
  • 1 qt of chicken stock
  • 1 qt of water
  • Salt and pepper

Instructions

  1. In a large pot, combine stock, water, onions, carrots, green beans, green peas, and tomatoes.
  2. Bring to a boil.
  3. Season with salt and pepper.
  4. Add ramen, and cook for 3 minutes.
  5. Serve with milk.
http://kstuff.net/ramen-vegi-soup/

It’s delicious, easy, and a great way to get rid of all those ramen noodles before they go stale.

Freezer Meals: Left-over Style

I think it’s time that I write a post about freezer meals, since they have saved my sanity when it comes to making dinner. I love cooking and experimenting, but I just can’t do it every day. Freezer meals make it possible for me to feed my family healthy meals every day, while saving me time and money. This method of freezer meals, also, makes it possible to save leftovers for a few months, instead of having to eat the same thing twice in one week, which is an issue in our house.

Last Monday, I made a wonderful meatless chili in my crock pot (seriously the best cooking device ever invented). Our tiny family didn’t even eat half of it, so I broke out my freezable Tupperware, piled the leftover chili on in, and froze it for later. I put some chili in the fridge for myself for later that week, because I don’t mind eating leftovers in the same week. Well, this Monday came around, and it was time for Meatless Monday again, and rather than slaving over some other meatless meal that could have been a dud, because I’m not a pro at meatless yet, I baked some potatoes in the oven, reheated the chili in the microwave, and within 10-15 minutes of work, we were eating dinner. The potatoes took an hour to bake in the oven, but I was playing outside with my family while that was happening.

Yes, this came from my freezer!

If you have a larger family that would eat through the entire pot of chili, the simple solution is to make twice what you normally would. You’ll only have to spend one hour or less of chopping for two meals. The other great thing about making your own freezer meals is that you can portion control everything. I put my meals in small Tupperware or Ziploc bags, so that I don’t have to thaw and then refreeze my meals.

This is the Meatless Chili that I made.

Meatless Chili

Prep Time: 30 minutes

Cook Time: 8 hours

Total Time: 8 hours, 30 minutes

Serve alone or over a potato with cheese and sour cream.

Ingredients

  • 1/2 onion, diced
  • 3 garlic cloves, minced
  • 1 green bell pepper, diced
  • 2 medium zucchini, diced
  • 2 medium carrots, diced
  • 3 tablespoons cornmeal
  • 1 pkg McCormick Chili Seasoning Mix, original
  • 2 15 oz cans diced tomatoes, undrained
  • 2 15 oz cans pinto beans, rinsed and drained
  • 1 15 oz can kidney beans, rinsed and drained
  • 1/2 C of quinoa
  • 1 C of water

Instructions

  1. In a crock pot, combine onion, garlic, green bell pepper, zucchini, carrots, cornmeal, seasoning packet, diced tomatoes, pinto beans, and kidney beans.
  2. Cook for 8 hours on low.
  3. In the last 15 minutes, bring water to a boil in small saucepan.
  4. Add quinoa to water and return to boil.
  5. Simmer on low for 15 minutes, or until the quinoa has absorbed all the water.
  6. Add quinoa to the chili.
http://kstuff.net/freezer-meals-left-over-style/

Bubble Birthday Party

Over the past few weeks, I have been very preoccupied by the planning of my pretty girl’s birthday party. I knew all the way back in January that I wanted to do a bubble party. I wanted a bubble machine, and a bunch of bubbles for the kids to play with, and of course balloons… actually it was pretty scattered until just a few weeks ago.

So, here’s what I did.

Bubbles

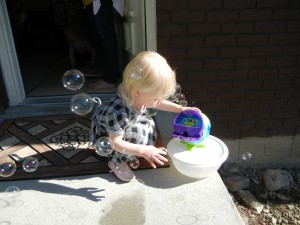
I googled “bubble party” and found this site. It really helped get the ideas flowing. We went to the dollar store and bought a bunch of bubble wands in various sizes. This was a hit, as even the parents were enjoying it. We asked some of our friends if they could bring a pool and a hula hoop so we could make massive bubbles. This part was really amazing. The same friends even commented that if we had hired a clown or magician, they would not have been as successful as the giant bubbles. We, also, bought a bubble machine for $20 from Walmart that we set on the front porch, so there would always be bubbles blowing. Rather than buying tons of bubbles, I made them.

Playing with a bubble wand.
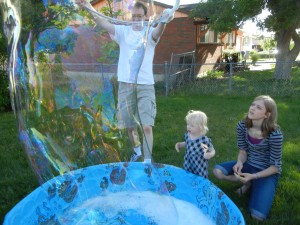
This was spectacular.
Bubble Recipe

Ingredients

  • 2 T glycerin
  • ½ C Dawn liquid dish soap
  • 5 C water

Notes

Glycerin is in the pharmacy section, and I did see a huge bottle of it at the health food store, which might have been a better deal. The small bottle at a regular store is good for about six batches of bubbles.

http://kstuff.net/bubble-birthday-party/

Invitations

We bought bubbles from the dollar store, emptied out the bubbles to save for the party, torn off the paper, and washed them in the dishwasher. When they were dry, I made some invitations that I could wrap around the bubble wand and then stuff in the bottles. Tape the invitations shut so they don’t stick to the sides of the bottle.

As far as delivering the invitations goes, we sent half of them through USPS, which cost $2/ bottle, and since the bottles were such an odd shape, one of them didn’t even get delivered until the day of the party. The other half we hand delivered, which was great, because I wasn’t wondering if they got the invite, and most people were able to RSVP right on the spot. So, if you do this, it’s much more worth it to hand deliver

Food

For dinner, I served BBQ Chicken and fruit. I meant to do a salad, but I just didn’t get to it. I found all of the fruit at a really good price at Winco. I got my fruit platter from the value section at Target, and my serving tongs from the dollar store. The BBQ Chicken is a crock pot dish, so it was really easy.

BBQ Chicken

Ingredients

  • 1 medium onion, diced
  • 1 garlic clove, minced
  • 2 T butter
  • ¼ C brown sugar
  • 1 t salt
  • ¼ t thyme
  • Lemon juice
  • 8 oz tomato sauce
  • ½ C water or less or none
  • 3 T Worcestershire sauce
  • 2 t mustard
  • Dash of Tabasco sauce

Instructions

  1. In a small saucepan, cook onion and garlic in butter until tender.
  2. Stir remaining ingredients.
  3. Simmer covered, 5-10 minutes.
  4. Freeze for later or use immediately.
  5. In a large crock pot, place four frozen chicken breasts and frozen BBQ sauce.
  6. Cook on high for six hours.
  7. Shred chicken and stir.
  8. Serve on buns.
http://kstuff.net/bubble-birthday-party/

This BBQ sauce is good for a lot of different dishes.

Cake

Since there were a lot of kids that came, I wanted to do something that would be easy for them. Cupcakes are not the easiest cake option when you are making them yourself, but it was so nice to just hand out the little cakes when the time came. I made all of the cupcakes the night before the party, which gave plenty of time for them to cool, so I could frost them the day of the party. I, also, made a mini cake that I covered completely in pink and white sixlets. I found the sixlets at a party store and used what was left to add some flair to the cupcakes.

Yellow Cake

Yield: Make enough for about 36 cupcakes, 2 mini cakes, or 1 regular cake.

Ingredients

  • 2 ½ C flour
  • 1 ½ C sugar
  • 3 t baking powder
  • 1 t salt
  • 1 ¼ C milk
  • 2/3 C oil
  • 2 t vanilla
  • 2 egg yolks
  • 2 eggs

Instructions

  1. Preheat oven to 350 F.
  2. Combine flour, sugar, baking powder, salt, milk and oil in a large bowl.
  3. Mix with an electric mixer at medium speed for two minutes.
  4. Add vanilla, egg yolks and eggs.
  5. Mix again at medium speed for two minutes.

Notes

Baking times: Cupcakes: 12-15 minutes Mini cakes: 20 minutes Regular cake: 40-45 minutes Or until a toothpick inserted comes out clean.

http://kstuff.net/bubble-birthday-party/


Cream Cheese Frosting

Ingredients

  • 3 C powdered sugar
  • 2 T butter
  • 1 t vanilla
  • 8 oz cream cheese

Instructions

  1. Combine in a large bowl and mix until smooth. Add food coloring to get desired color.
http://kstuff.net/bubble-birthday-party/

Decorations

Balloons of course! They’re round and light as air, just like bubbles. We got a dozen helium filled in clear, silver, and pink, plus a Hello Kitty one. Then we found a big bag of white balloons at Walmart for $2.50. The men blew up at least half the bag, and the kids had tons of fun running through them.

This is my favorite picture of her with the balloons.

Well, I think that’s all I did. It was super fun, and we’re playing with the left over bubbles as I type this. Thank you to everyone that  came and helped out.

All of these beautiful pictures were taken by Sarah Stufflebeam, whose blog can be found here.
Sunny Side Up Technique

To have an egg truly sunny side up, the yoke still needs to be runny, which I personally think is gross. However, I decided to test this technique just to see how everything would turn out, and I was very pleased with my solid yoked egg. Rather than being dry and barely palatable, my solid yoke was still moist and delicious. Plus, this has got to be the easiest way in the world to cook an egg. There was no scrambling, no flipping and praying the yoke didn’t break, and no boiling water.

To accomplish this technique:

  1. Heat a frying pan to medium-low heat.
  2. Coat with butter (this applies to both non-stick and regular pans).
  3. Crack the eggs into the pan.
  4. Salt and pepper.
  5. Cover the pan with a lid.
  6. Enjoy when yoke is desired texture.

For a true sunny side up, you would only let it cook covered for about 45 seconds, and then be done. But for those of us who can’t stand an egg to be runny or even a little bit gooey, cook it for 2-3 minutes. The low heat and the steam trapped by the lid will keep the egg from burning, and you will have a very delicious egg. Also, something to look for if you’re cooking it for longer, the white of the egg will start to bubble. It actually looks kind of cool once you get over the initial shock of “what is my egg doing?”

The Importance of Food

I know that when I started this blog, I was way into cloth diapers and my 101 Goals, and I still do think about this stuff, and plan on blogging about it when I can get to it, but lately my focus has been on food. My life revolves around food. If you didn’t read my mom’s blog post, it will explain a lot of why I care so much about the food my family and I eat. For me, eating well means being happy, having energy, enjoying complex, delicious flavors, being productive and having a happy family. So, while a lot of the time it means missing out on things like Kneader’s fruit tarts, Breyer’s Vanilla ice cream, and Sprite, the benefits far outweigh the disadvantages.

I’ve been watching a lot of TED talks based on food lately, and this one by Carolyn Steel struck me as correct. She talks about the need to bring food production back to our conscious thought, and how we should build society around food. I think she’s right. Come some crazy disaster, nobody is going to care how much money you have, or how much gold you saved, or even how smart you are. All that is going to matter is who has food and who doesn’t. Those who know how to produce food are going to be looked to for help and guidance.

This is one of the reasons why I have immersed myself in Shelf Reliance. Through this company, I am building my home store (a concept that too few people understand), which I hope someday to contain at least two years worth of food for my family. I, also, am able to store healthy food that tastes good and will last a long time. Plus, the network of consultants this company has produced is so diverse that you can find just about any kind of food made using this food storage, and a lot of them post the recipes online.

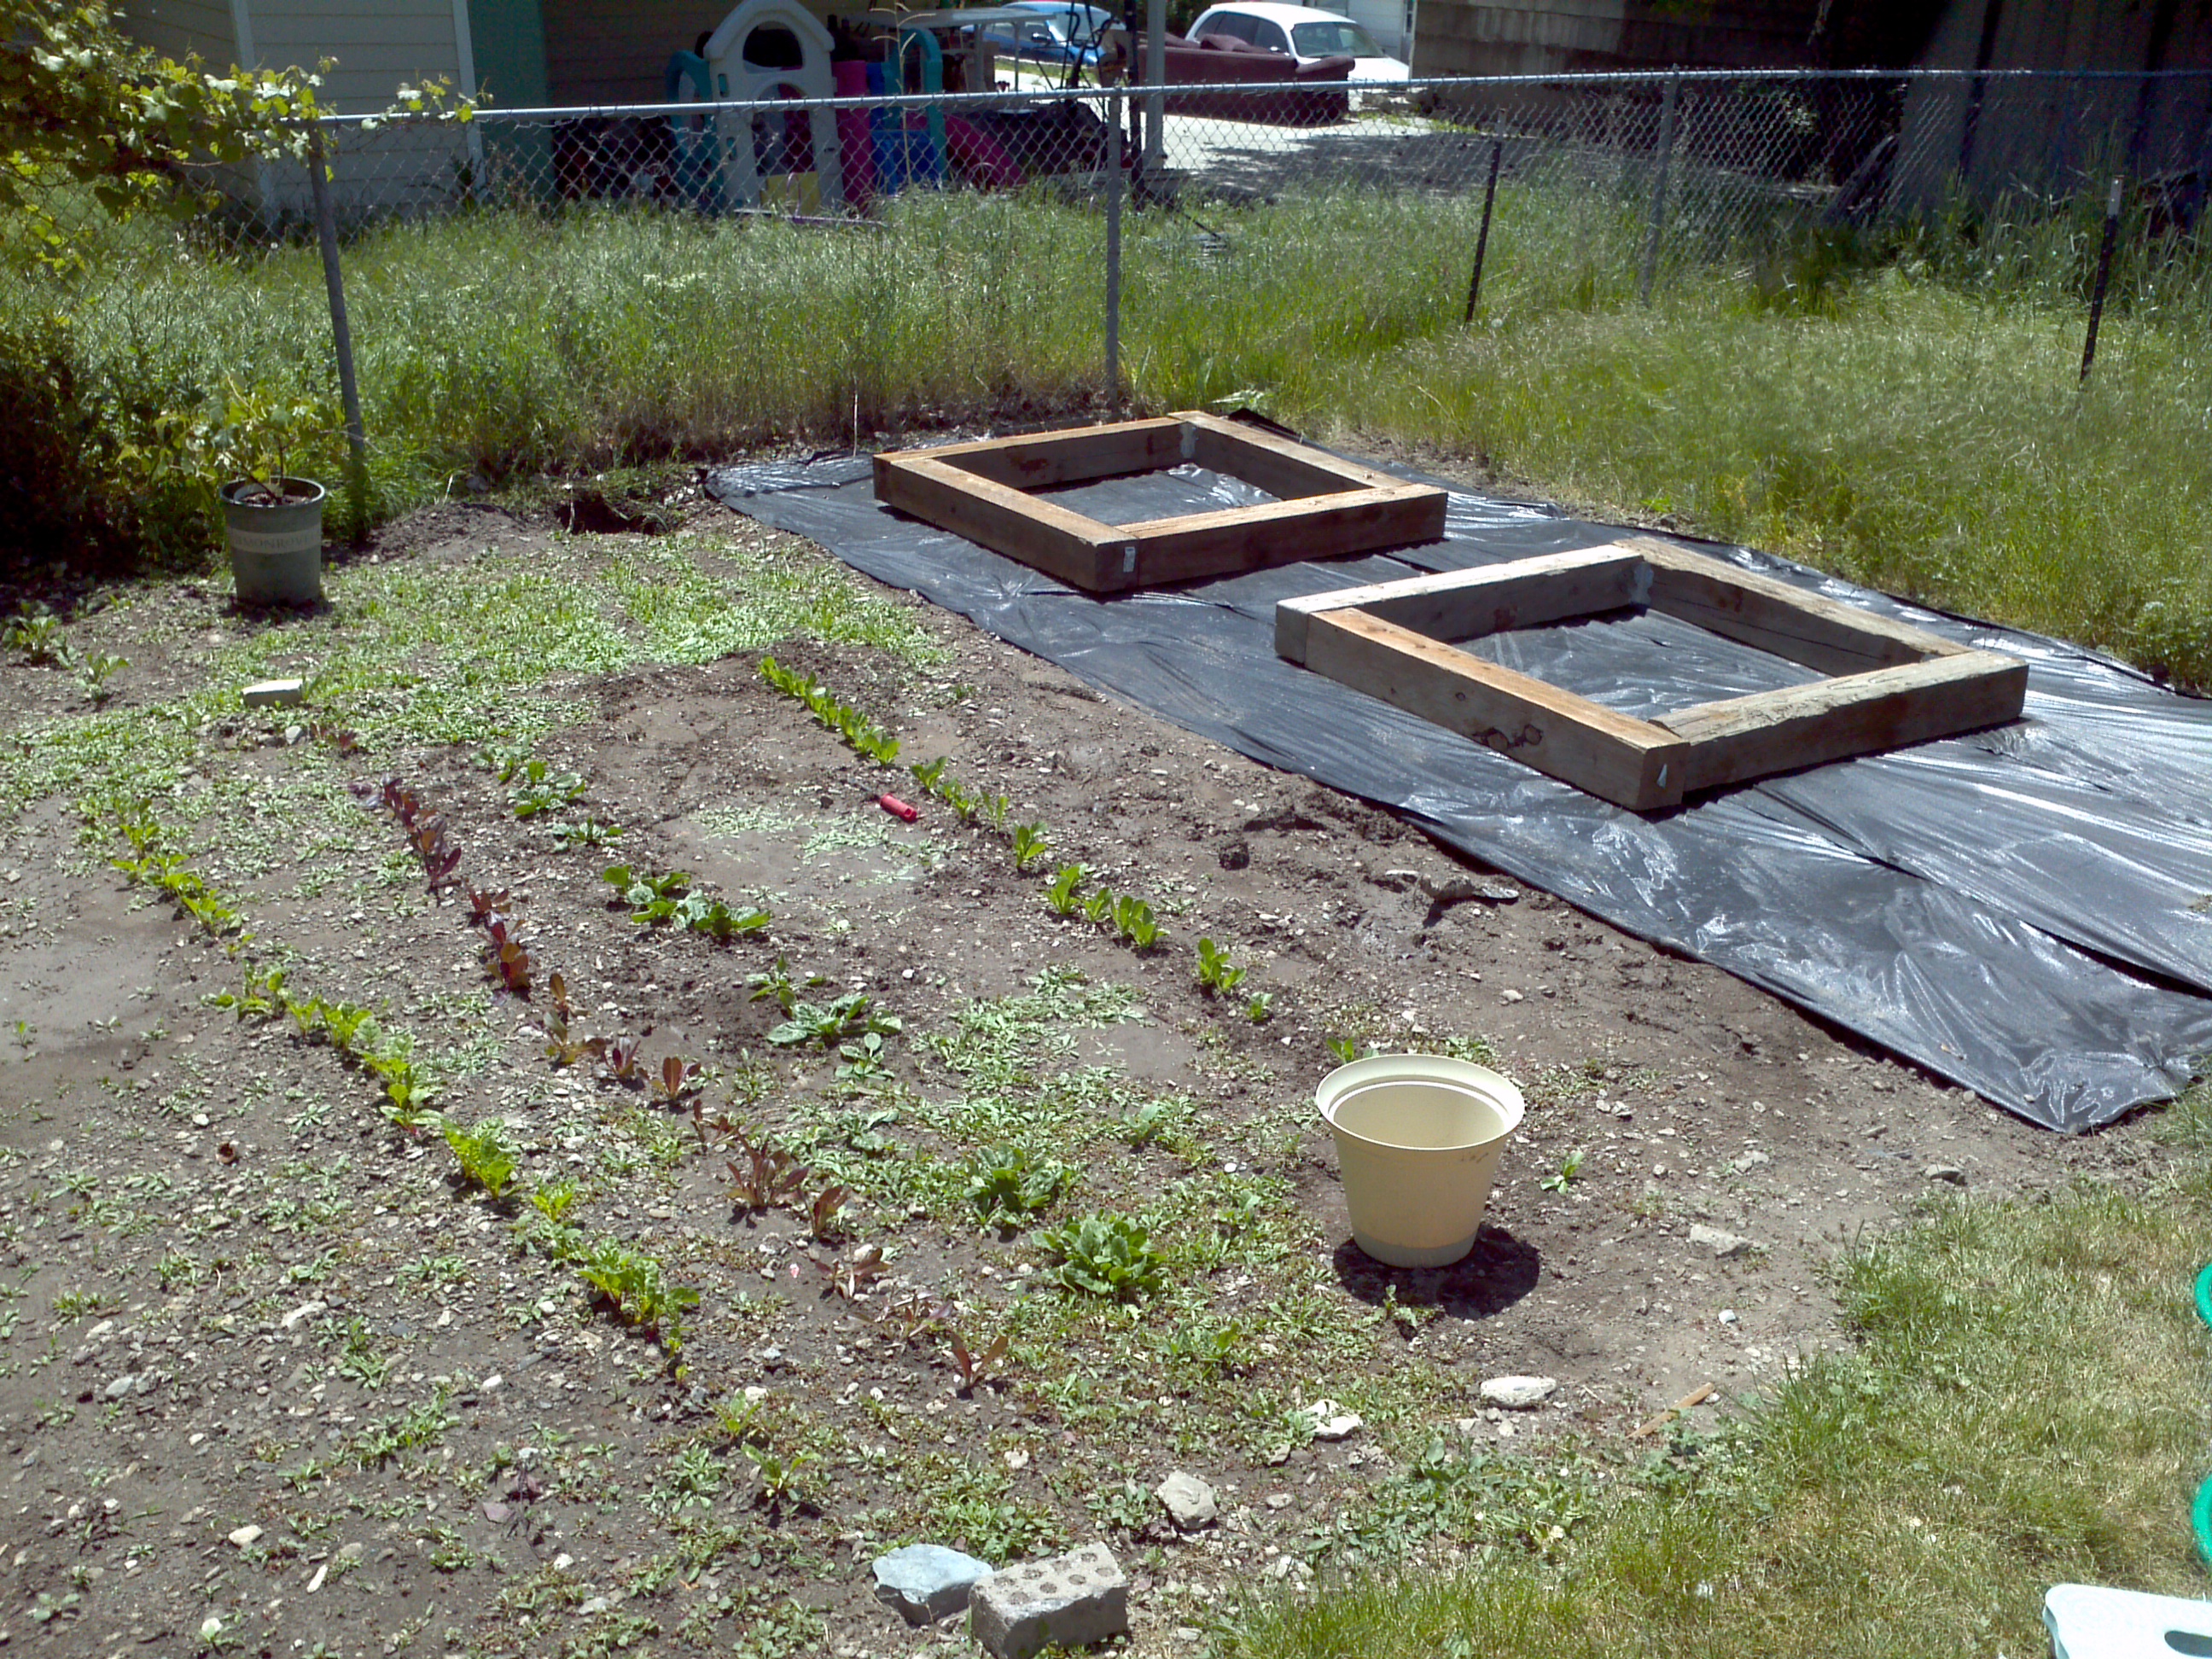
Shelf Reliance helps me to have food on hand always, but I, also, want to be a producer. I grew up gardening with my mom, but right now, with two under two, it’s rather challenging to always be weeding a large area of land just to make sure that my baby plants don’t get suffocated by massive weeds. Our ward (church) just started a Sunday school class called “Provident Living.” We have been learning about square foot gardening, and Brother Lindsay has been showing my family how to do it. He is so helpful. About once or twice a week he comes over to check on our progress and explain the next step. He is even helping us get the right supplies, so that next year, when we build more boxes, we will know what to do and how to do it. We, also, want to teach other people how to do this.

If you want to learn more about being self sufficient, these are two books I suggest reading:

The Forgotten Skills of Self-Sufficiency Used by the Mormon Pioneers by Caleb Warnock
All New Square Foot Gardening by Mel Bartholomew

There are also websites based off these two books, just Google them.