Rainbow Carrots

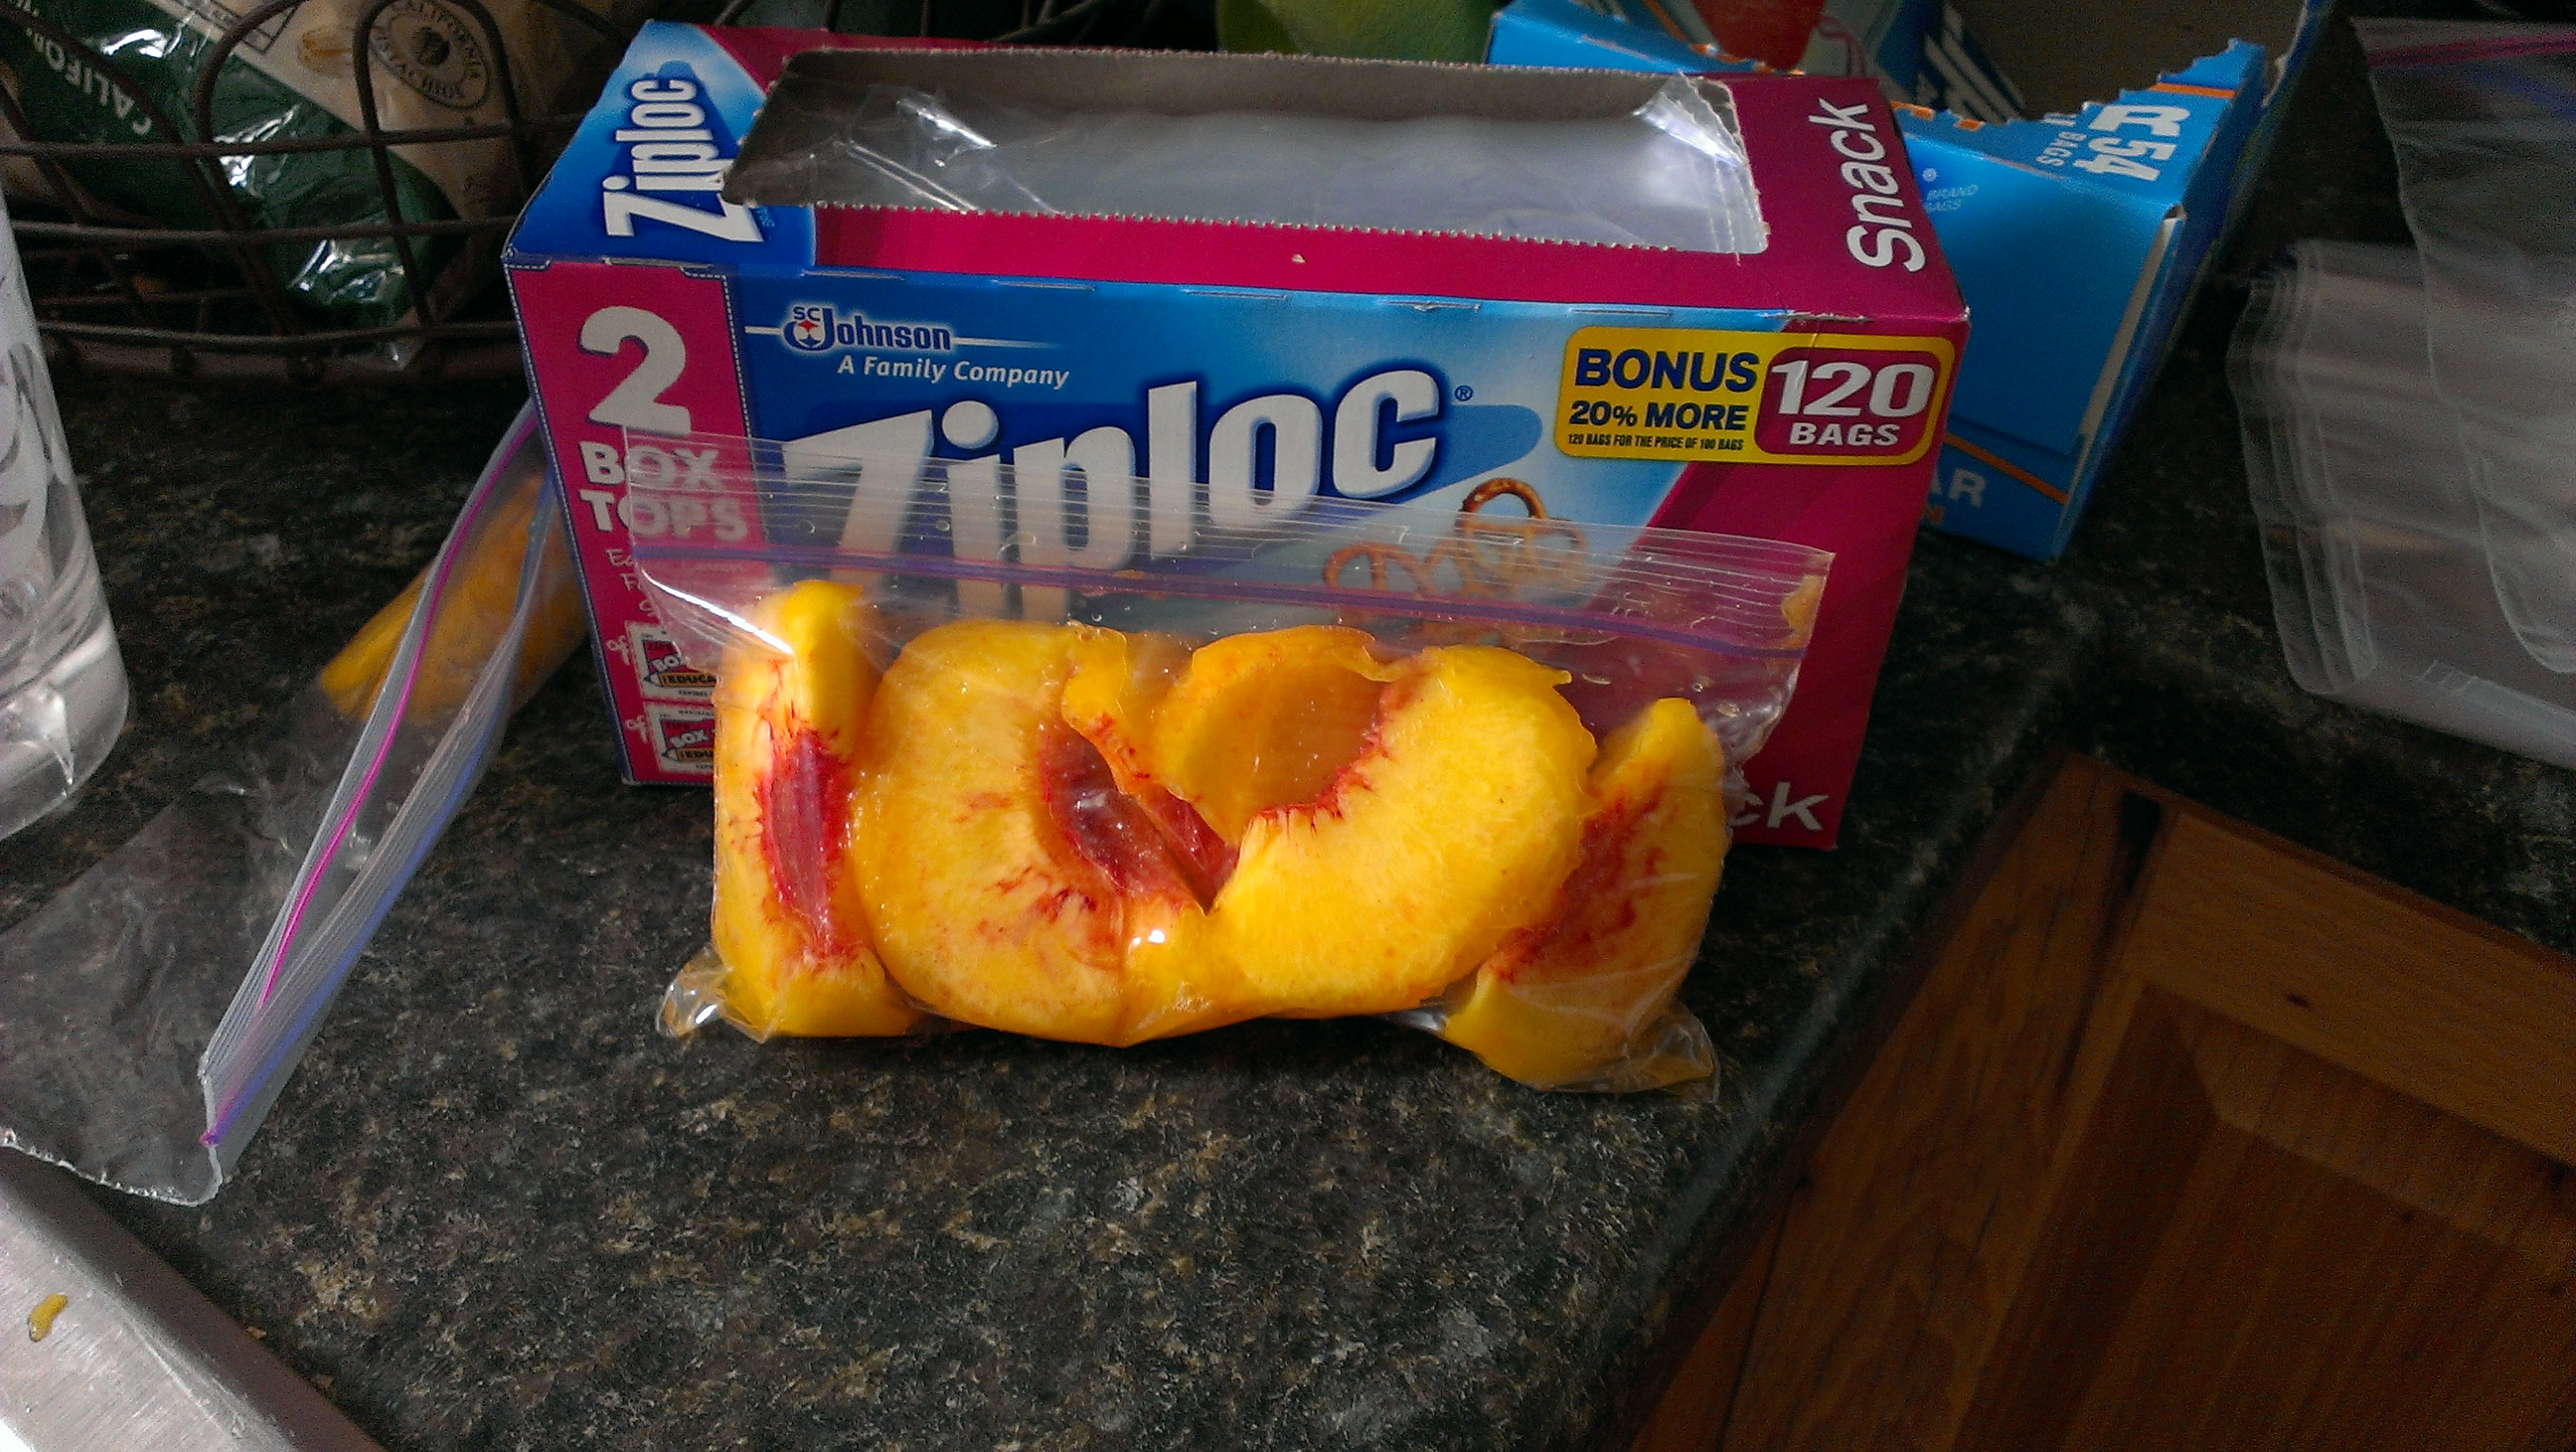
I finally feel ready to get back into writing after having a baby, but with the amount of time I must commit to my kids, husband, and house, I’ve decided to start off small, almost journalesque with my posts. Today, I am super excited about what we had for lunch. I explained how I do lunch here, which is how I did it today. Sprouts had a sale on organic rainbow carrots, so I bought a bag and cut them into carrot sticks. The orange were orange, and the yellow were yellow, but I was pleasantly surprised that the purple were yellow on the inside. The girls thought it was super fun to have colorful carrots as well. Along with the carrots, I served a delicious Jonathan apple, with its soft texture and slightly tart flavor, my baked fries, and chicken nuggets. Sometimes I just have to go easy on myself, and the girls will always eat them.

image

Carrots have always been a favorite of mine. They are loaded with beta carotene, which is great for eye and immune health, and they are super tasty. Long ago, I watched a Magic School Bus episode where Arnold’s skin turned orange, because he was eating some carrot snack. That was from the beta carotene, but I’m still skeptical about whether that can really happen or not, because I consume high quantities of beta carotene when I’m sick, and my skin stays the same. When carrots are left in the ground over the winter, they become sweeter. I haven’t done this myself yet, but the leader of the garden club in my neighborhood has, and I got to eat some. They’re amazing.
Knowing that different colors in food indicate different nutrients, I decided to figure out what else was in the purple and yellow carrots. Apparently the purple pigment comes from anthocyanin, which is an antioxidant that is, also, in blueberries. Yellow carrots are very similar to orange carrots. They contain xanthophylls and lutene, which are both similar to beta carotene.
And, if you were completely fascinated with those big words as I was, then I think you will find this article interesting.
Carrot Colors

Lunchtime

For the longest time, feeding kids lunch has eluded me. Once they got past the baby food and formula, and into the real stuff, I had no idea what to do for lunch. Breakfast and dinner were just fine, but lunch was impossible. Sandwiches simply aren’t an option for the toddler/preschool age, because they don’t understand why you would stack everything just so and then they can’t balance everything between the bread anyway. Even a simple tuna sandwich would be taken apart, the tuna eaten, and then the bread. For the longest time, I made soup, because it’s delicious and easy, but that was still too messy to continue for long. Then the raw foods craze came out, and I figured it out.

Chicken TendersOur lunches now consist of either chicken tenders or left overs and tons of raw fruit and vegetables. Protein and carbs, it’s a perfect meal for the middle of the day. I cook the chicken tenders in olive oil, so there is a bit of fat, but we get the majority of our fat from breakfast and dinner. (If you don’t know yet, I believe that saturated fat is good for you, and that olive oil is good in small amounts as well.…And actually I think everybody’s body is different so there is no one diet that will work for all.)

So, this is how lunchtime goes for us now. Starting around noon, I heat about a tablespoon of olive oil in a pan over medium heat. Then I add 3-4 frozen chicken tenders (Costco has the best.) After about five minutes, I flip them over and season the partially cooked side with Emeril’s Original Essence. It’s a fantastic spice blend that has become a staple in our household. Five minutes later, I flip them over again and season the newly cooked side. Then I flip them 1-2 more times until they are completely cooked. When the chicken is done, or very close, I get out a plate and pack it with fruits and vegies that are cut up or prepared in such a way that they make easy finger food for my kids. For example, baby carrots just go straight on the plate, grapes are washed and left on the vine, oranges are peeled and pulled apart, bananas and cucumbers are peeled and sliced into discs, and apples are cut into slices.

Fruit and Vegie PlateThen I stick the fruit and vegie plate between my girls, give them each a chicken tender, and we say a prayer on the food. Yes, I make them exercise self-control to not touch the food while we pray. It’s only 30 seconds max, and they handle it just fine. As soon as we’re done praying, they eagerly load their own plates up with whatever looks good to them. There are a few rules that they are required to follow. First, they must have one bite that they swallow of everything on the fruit and vegie plate. Second, they must have at least one more bite, beyond what they have already had, of chicken before they go for seconds from the fruit and vegie plate. They were resistant to these rules at first, but I stood my ground and stick to my word. If they have had one bite of a food and decided they don’t like it this time around, then I don’t make them eat any more of it. When they are finished, I have them clear their plates off the table, but leave the fruit and vegie plate out with whatever is left over for them to snack on whenever they want. Around dinner time, I give whatever is left over after snacking to our chickens, who devour the rest of it.

Sometimes I pick one color as the theme of the plate, and other times I try to make a rainbow of colors. When I first started, almost everything I put out were fruits and vegetables that they were already used to, but over time, I have been trying to expand their palates by trying a new fruit or vegie every so often. In the past I have done strawberries, raspberries, watermelon, cantaloupe, apples, pears, grapes, bananas, oranges, clementines, broccoli, cauliflower, carrots, and black olives. This week, I was able to buy more fruits and vegies than normal, so we have cucumbers, yellow cherry tomatoes, sweet peppers, and pineapple to try. When I put the sweet peppers out, the girls we very excited to try them, because they’re actually the ones who picked them out. As it turns out, that’s the one food they only took one bite of. Unfortunately for them, I have a whole bag of them, so they’re going to have to take one bite of them every day this week. Maybe I’ll give them some salad dressing to help with the taste. The cucumbers were devoured so fast that I almost didn’t get any for myself.

Cow’s Milk Free Quiche

image

Quiche is a family favorite, but given the amount of milk and cheese in it, we haven’t had it in over a year. Our chickens gave us so many eggs recently, that I could think of no other way to use them other than in a quiche. So, I experimented, and it worked the first time, which is amazing. The texture is not perfectly the same as if it had milk and cheese, but the flavor is very similar, and my kids still eat it, so it must be good.

Every good quiche starts with an amazing crust. I use this crust recipe for every crust I ever make, pumpkin pie, apple pie, chicken pot pie, and quiche. This is a butter crust, so if butter is on your list of no-nos, there are shortening and oil crusts out there that some people prefer, but the butter crust is my favorite, and thankfully our lactose intolerees can handle it.

Butter Pastry Crust

1 C flour
1/4 t salt
6 T butter
1 egg

Combine flour and salt in a small bowl. Cut in butter and mix using a pastry blender. Add egg and form dough into a ball. Flour a flat surface and a rolling pin. Roll out dough to about 1/4 inch thick. Gently place crust into pie pan and form edge as desired.

For a quiche, cover crust with foil and place rice or beans on top of the foil to keep crust from bubbling up. Cook in a 450°F preheated oven for 8 minutes. Remove foil and cook for another 4-5 minutes. Remove crust from oven and lower temperature to 325°F.

Filling

4 T butter or oil
4 T cornstarch or arrowroot powder
1 1/2 C coconut milk, divided
1/8 t cayenne pepper
1/2 t pepper, divided
3/4 t salt, divided
1/4 t garlic powder
1/2 lb. ground beef
1/4 C FD* onion or 1/2 fresh onion
7 eggs
3 C swish chard, chopped

*freeze dried

In a small sauce pan, melt butter over medium heat. Whisk in cornstarch. Add 1 C of coconut milk all at once. Stir to incorporate with butter mixture. Add cayenne pepper, 1/4 t pepper, 1/4 t salt and garlic powder. Stir continuously. Sauce will start to boil and then thicken. Remove from heat when it has the same consistency as gravy, and allow to cool.

In a frying pan, brown ground beef and add onion.

Place eggs in a medium bowl, and add 1/2 C of coconut milk. Whisk in coconut and butter sauce. It will be lumpy. Add beef and onion mixture and swish chard. Pour into crust and cook in a 325°F oven for 60 minutes. Let cool for 5 minutes and serve warm.

Apple Butter

image

Apple butter is a deliciously, thick, dark sauce that was a huge treat when I was growing up. We put it on pancakes, waffles, toast, probably my mom’s homemade bread fresh out of the oven if the two ever happened at the same time. I love the stuff. The first time I ever went grocery shopping for just myself, I found some and enjoyed the entire tiny, little bottle. My mom made it just using applesauce, but I had a box full of Jonathan apples, the best apple on the planet, and I wanted to turn them into the best tasting sauce on the planet. My husband said I made the whole house smell like wassail.

10 apples, peeled and cut into 1 inch cubes
1 T cinnamon
1/4 t cloves
1/4 t nutmeg

Put apples in crock pot, and cook on high for 2 hours. Stir every 30 minutes or so to keep the apples from burning. Mash the apples with a potato masher. Cook on low for 6 hours. Continues to stir every 30 minutes. In the last hour, mix spices in with a whisk. Makes about 4 cups.

After mashing, the apples will look very similar to applesauce, you could probably stop there and have applesauce. As the apples cook, they go from the yellowy cream of an apple, to a pinkish, to a brown, and then when you add the spices, you will get the very dark brown color.

While, in the picture it shows that I put them in glass jars, I did not properly can them, so I will be freezing them after the 24 hour waiting period. The sauce was hot enough to seal the jars, however, so be careful to let it cool down before putting it in anything plastic.

Granola Trail Mix

imageI made a goal to make granola as part of my 101 Goals, but when I started the Paleo diet, I figured that one would never get accomplished. But, I’ve switched back to my hypoglycemic diet, so that my body can get the benefits that diet offers, and oats are not evil for the time being. I stumbled across this Applesauce Granola recipe, happened to have all the ingredients already on hand, and decided to make it. I cut out the brown sugar, so the only sweetener is a tablespoon of honey. By itself, the granola is quite bland, and I was worried that it was just going to sit around for a few months, before I threw it out. Then I got the idea to make a snack out of it, and I created this delicious trail mix. The practically unsweetened granola allows the other flavors to stand out and shine. I’ve even considered eating this as a cereal, because it would be fantastic. My girls are constantly begging to snack on this, and I’m okay with them doing so.

2 C Granola
1 C FD* Raspberries
1 C FD Strawberries
1 C FD Vanilla Yogurt Bites
1 C Raisins
1 C Unsalted Pumpkin Seeds

*freeze dried

Mix together and store in an airtight container. If you really want to be super healthy, leave out the yogurt bites, as those have sugar added, made glaringly obvious by how my girls eat all of those first. If you don’t have any of the freeze dried foods, it’s still really good with just the raisins and pumpkin seeds.

Chicken Zucchini Soup

2013-09-15_12-42-33_387One day, when I was a brand new mother, I opened a can of Cambell’s chicken noodle soup, heated it up, and was disgusted by it. So much so that I searched and searched for the perfect chicken noodle soup recipe, and settled on a combination of a few. The perfected recipe is here. We have enjoyed this recipe many many times, and I was so sad to see it go when I discovered the amazingly delicious and healthy world of Paleo eating. To top it off, the only thing in the soup that is not Paleo is the noodles, but without them you just have chicken soup, which is kind of boring.

Being a year into Paleo eating, and having a huge surplus of zucchini, I decided to do what any good Paleo eater does and sub zucchini for noodles. It was pure perfection. No heartburn for my husband, no sluggish feeling for me, and the kids went for seconds and thirds. We are, also, a month into our crazy plan to be out of debt by January 2014, so I made this using food storage. Feel free to refer back to the original recipe for whole food amounts if you don’t want to use food storage to make this.

4 T butter
½ C FD onions
½ C dehydrated carrots
½ C FD celery
2 quarts of liquid, chicken broth, water, or a combination
Salt
Pepper
1 t Thyme
1 Bay Leaf
2 C FD chicken or leftover rotisserie chicken
1 medium zucchini, shredded

In large soup pot, over medium heat, melt butter. Sauté FD onions in butter, and add some liquid before the onions burn. Add carrots and celery, remaining liquid, and spices. Allow to simmer for five minutes. Add FD chicken or cut up rotisserie chicken and zucchini. Let simmer for 30 minutes. Serve warm

Note: The more water you use, the more salt you will need.

Dairy Free Spinach Dip

IMAG1957We had a fondue night with some friends, and needed a non-dairy dip for our lactose intolerant daughter. I wanted something like a cheesy spinach dip, without the actual cheese. After browsing many spinach dip recipes, I decided to try a dairy free white sauce, mixed with spinach. To give it a bite like cheese, I added cayenne pepper.  This is really good with chips, cheddar cheese, and bread.


4 T butter*, coconut oil, or olive oil3-4 T cornstarch or arrowroot
2 C coconut milk
dash of cayenne pepper
salt
pepper
1 T Worcestershire sauce
2 C FD** spinach
1 1/2 C chicken stock or water

*Our lactose intolerant can handle small amounts of butter.**freeze dried

1. Melt fat of choice in a sauce pan. Add cornstarch to thicken. Stir in coconut milk and heat over medium heat to thicken. Add spices and Worcestershire sauce.

2. Heat spinach and stock until stock is mostly gone.

3. Add reconstituted spinach to white sauce. Heat over medium heat for about 15 minutes until thick. Stir frequently.

Freezing Peaches

IMAG1646Peaches are God’s gift to the Earth, and it is finally August! They are my absolute favorite fruit, and I refuse to eat any others than in season, Utah peaches. The one exception to that is frozen, Utah peaches (say, in the middle of January). I buy my peaches by the box, and never at the store. I prefer to go straight to the farmer. My favorite farm to buy them from is in Orem on 400 S and about 250 W. I discovered them last year, while on a ReStore run, and have been stalking them since the end of July of this year. The farmer is very kind and added extra peaches to my box, which was only $18!

To freeze peaches, you need a few supplies: a big pot of water, filled half way, snack size bags, quart size freezer bags, a sharpie, a colander or large plastic bowl, a draining spoon, and a knife. You will, also, need free stone peaches. Free stone means that the peach will come right off the pit without much effort on your part. This is essential for preserving, so that you can save your sanity.

IMAG1651

First, clean your sink. Do your dishes, and scrub all the gunk off the walls of your sink. You need this area to be clean, because your peaches will be down in there.

Second, boil that big pot of water.

IMAG1655

Third, while the water is coming to a boil, use your sharpie to label the quart size bags, “Peaches” and the date.

IMAG1661

Fourth, once the water has come to a boil. Add as many peaches as you can. Boil for 30 seconds. Set your timer, so you get it right. Then pull the peaches out using the spoon, and put them in the colander or plastic bowl. Rinse the peaches in cold water, to stop them from cooking any more.

IMAG1657

Fifth, get a snack sized bag ready to be filled. Remove the skin of a peach, which should just rub off. Cut the peach in half. Remove the pit, and cut the peach into eight pieces. Put all eight pieces in the snack sized bag, seal, and put in a quart sized bag.

IMAG1666

Sixth, once there are four snack sized bags in one quart sized bag, seal the quart sized bag, and place it in the freezer.

IMAG1669

Tips: If skins on your peaches don’t instantly rub off, they are probably under ripe, or not the kind of peaches that do that. Either way, you can peel the peaches with your knife. If you wait an extra day or two, they may ripen up enough to rub the skins off.
If you can’t fit a whole peach in a snack sized bag, simply remove one slice and put it in the next bag.

Why the snack sized bags?

Two reasons, freezer bags aren’t always perfect, and double bagging fixes that. It keeps the peaches from getting freezer burned. Second, the snack sized bag makes it easy to portion control. When you pull out one snack sized bag, that is one peach, and probably enough for one person, depending on what you will do with it.

Skillet Peach Cobbler

image

It’s peach time! I love August for this one reason. To celebrate, I bought a huge box, and we’ve been eating peaches everyday. A new favorite breakfast side of mine are these cooked peaches. They’re very quick to cook up, and don’t have any kind of sweetener added.
4 Peaches
1/4 C Butter
1/2 t vanilla
1 T ground flax
1 T coconut flour
1. Remove the skins from the peaches. The easiest way is to place the peaches in boiling water for about 30 seconds. Then drain the water off, and rinse with cold water. The skins will slip right off.
2. Melt the butter over medium heat in a frying pan. Slice the peaches and add them to the butter. Cook the peaches for about five minutes.
3. Add the vanilla, flax, and coconut flour. Stir to incorporate with the butter and peach juice. This will form a soft crust around the peaches.

Complimentary Breakfast

Breakfast this morning was courtesy of our chickens and our garden.
image

Our Buff Orpington started laying this last week.
image

We gathered six tiny eggs from her, and decided that might be enough to feed all of us, so we cooked them up this morning.
image

Then we got our first Hamson tomato, and diced it to add to the eggs. I scrambled the eggs, added a little salt and pepper, and then added the tomatoes. The juice from the tomatoes made the eggs cook for longer, but, also, kept them moist.
image

The scrambled eggs with tomatoes were delicious. We ate every bit of it.